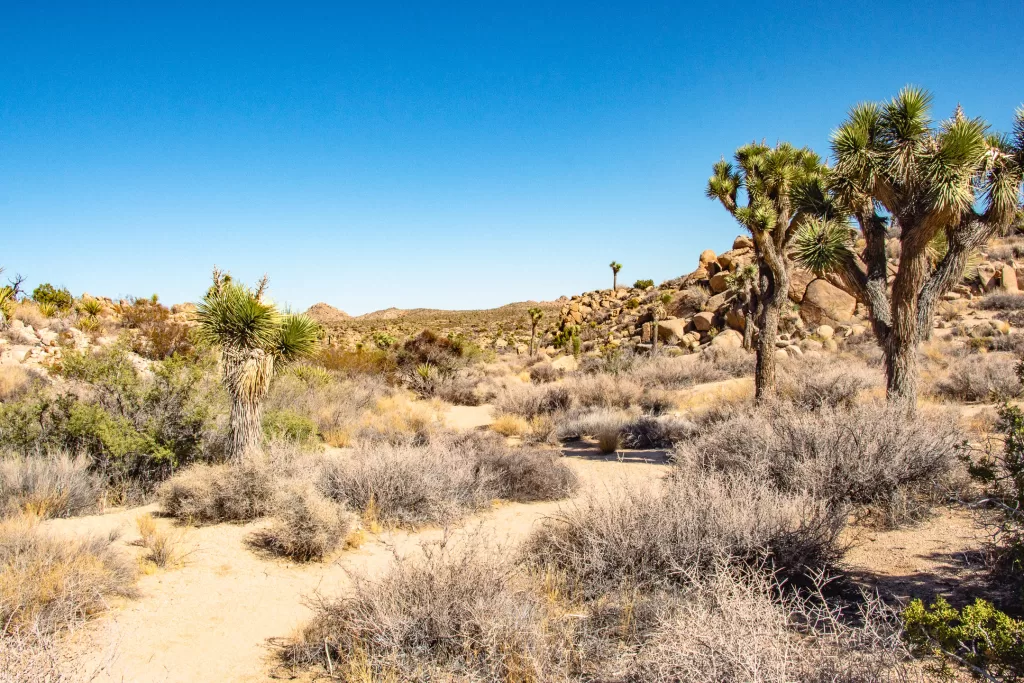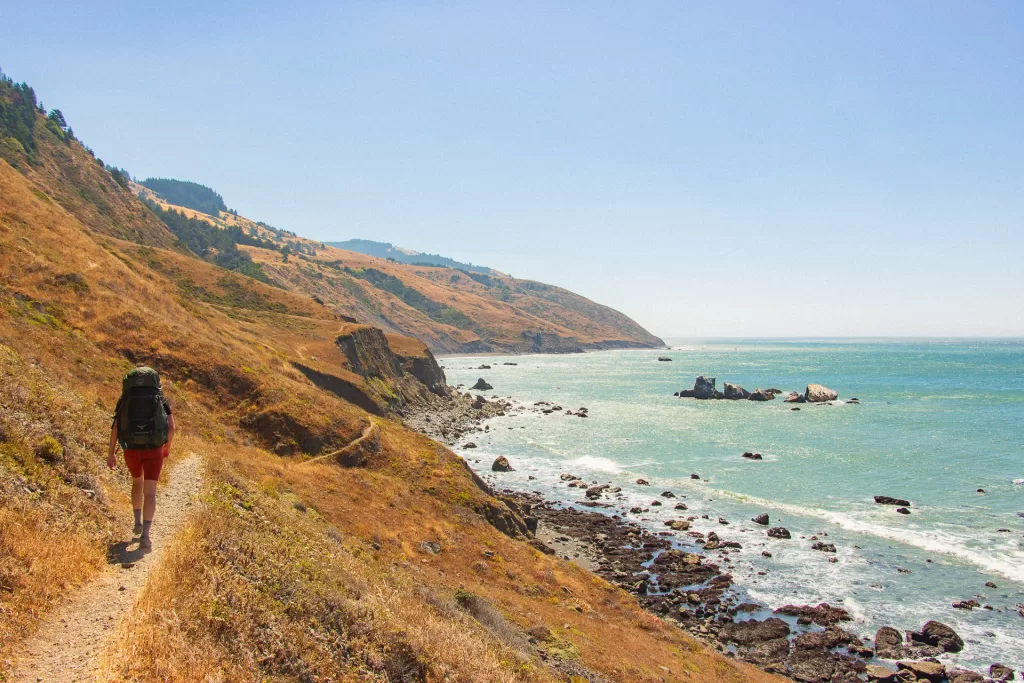
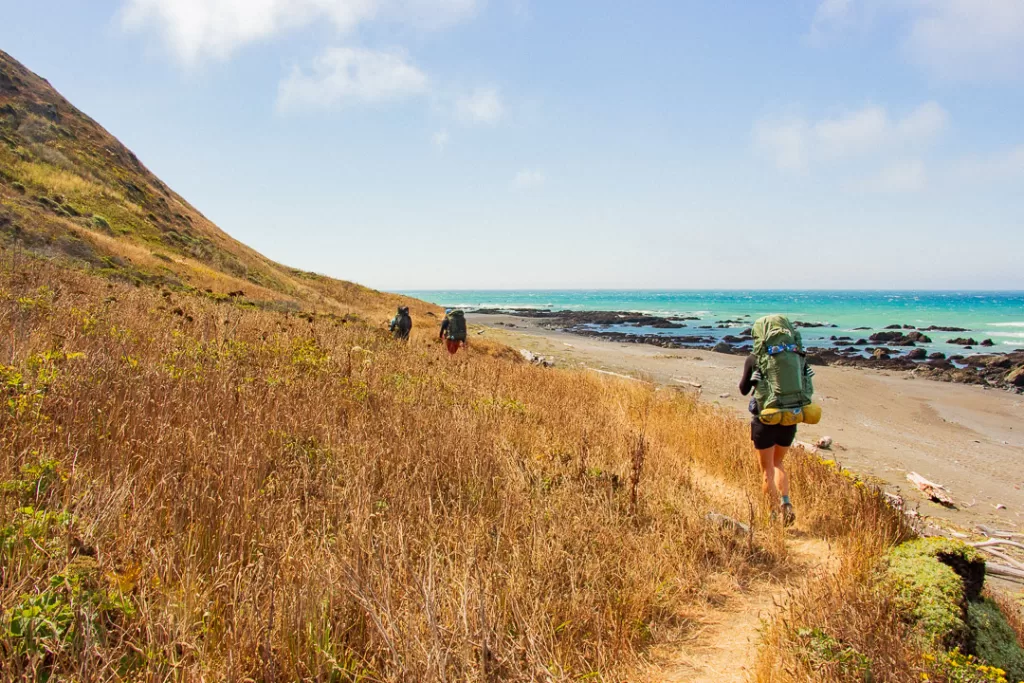
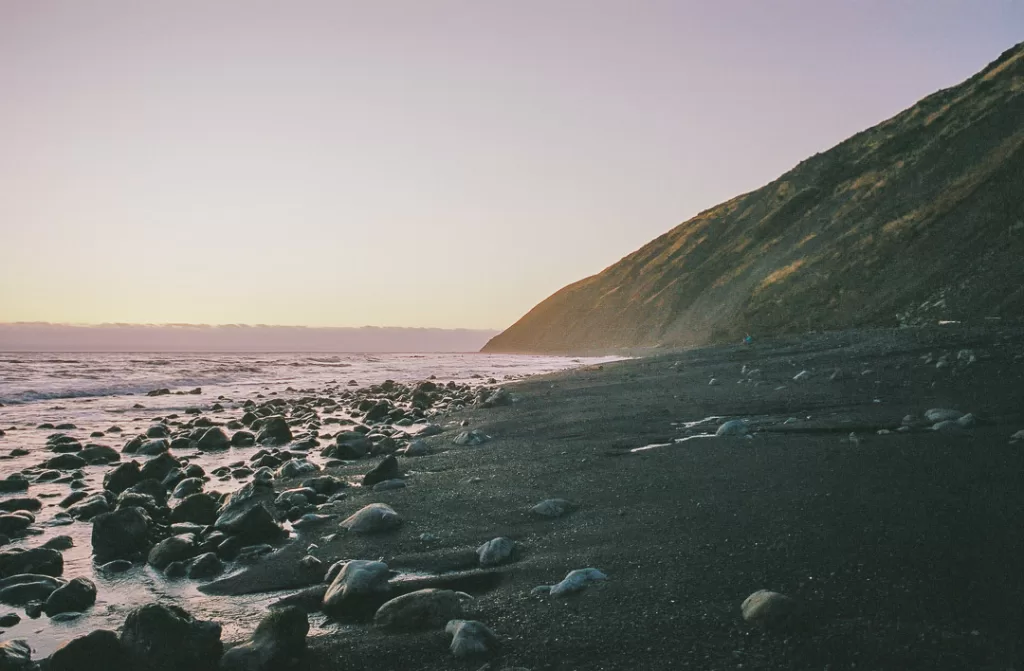
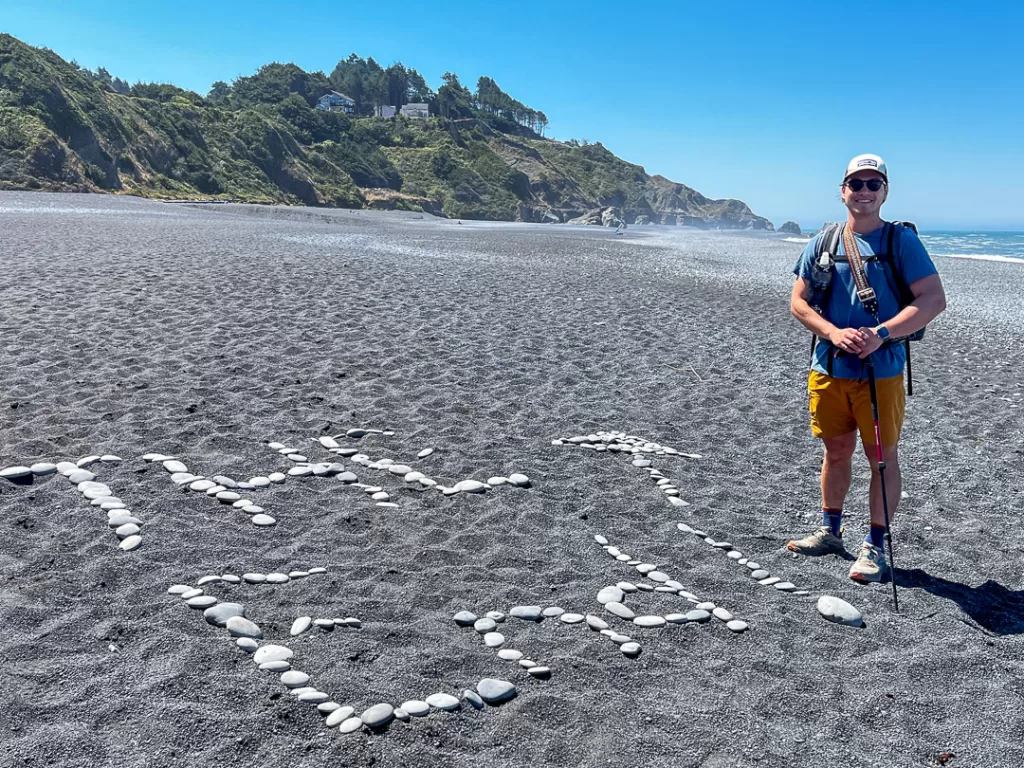
Hiking the Lost Coast Trail is a dream come true for many backpackers. Having hiked this trail twice, I can confidently say that it is a must-do adventure. Featuring the expansive Pacific Ocean on one side and the towering King Range on the other, walking along this untouched coastline is as beautiful as it is rugged. Its wildlife is equally as fantastical and diverse. From starfish, sea urchins, and elephant seals to snakes, deer, and black bears, its ecosystem is unlike anywhere else I’ve ever been. If you plan on hiking the Lost Coast Trail someday, then here’s everything you need to know to make your dream a reality.
About the Lost Coast Trail
A truly forgotten landscape, the Lost Coast got its name after the unforgiving terrain forced the Pacific Coast Highway to divert inland. Free from vehicle access, it’s the largest stretch of undeveloped coastline in California.
The Lost Coast Trail is divided into two sections. The northern portion spans 25 miles from Mattole Beach to Black Sands Beach through the King Range National Conservation Area. Hikers walk either on or just beside the beach the entire time, have to navigate through three impassible zones, and must obtain a permit to hike overnight (more on that later). It’s also what most people are referring to when talking about the Lost Coast Trail. The southern portion is 9 miles through the Sinkyone Wilderness State Park and, unlike its more famous counterpart, mostly routes through the forests above the coastline. No advanced permit is needed. This article will focus on the northern part of the Lost Coast Trail.
Before You Hit the Trail
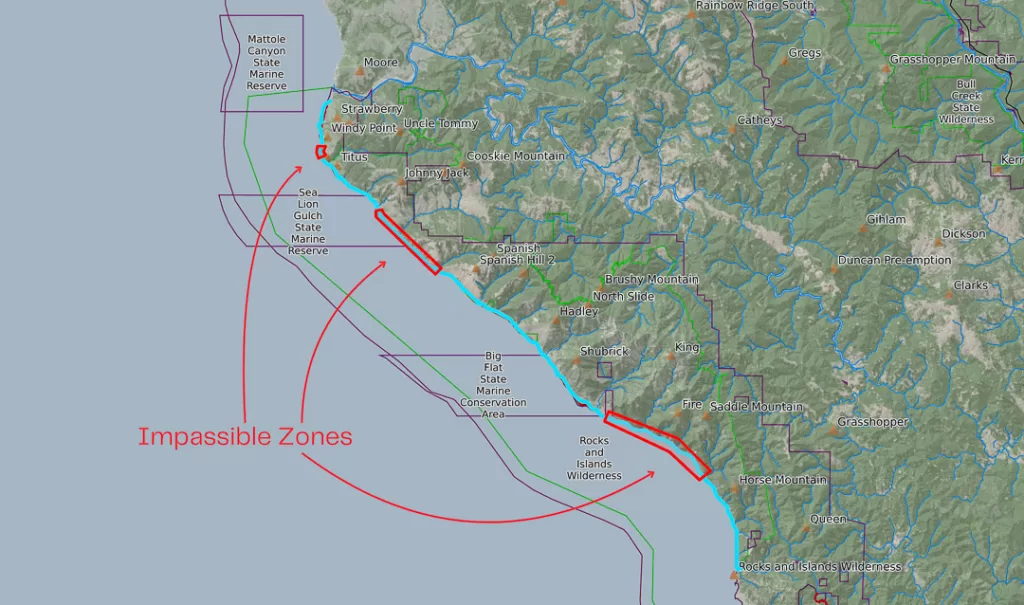
Impassible Zones
The most unique and infamous aspect of the Lost Coast Trail is its impassible zones. During high tide, three sections of trail become impossible to traverse. The three sections are:
Luckily, you can figure out when low tide is by visiting NOAA’s Tide Predictions for Shelter Cove.

When filling out the fields, make sure to:
You should see a graph of the tide height over time. Intervals below the “three feet” line are when it’s safe to navigate through the impassible zones. You can see the data points below as well, with values above three feet indicated with an asterisk (*).
It’s imperative to consult NOAA’s Tide Predictions before you select your permits! On some dates, the tide doesn’t fall below three feet during daylight hours. Also, do not try to pass through the impassible zones when the tide is greater than three feet. People have been swept away and downed.
Permits
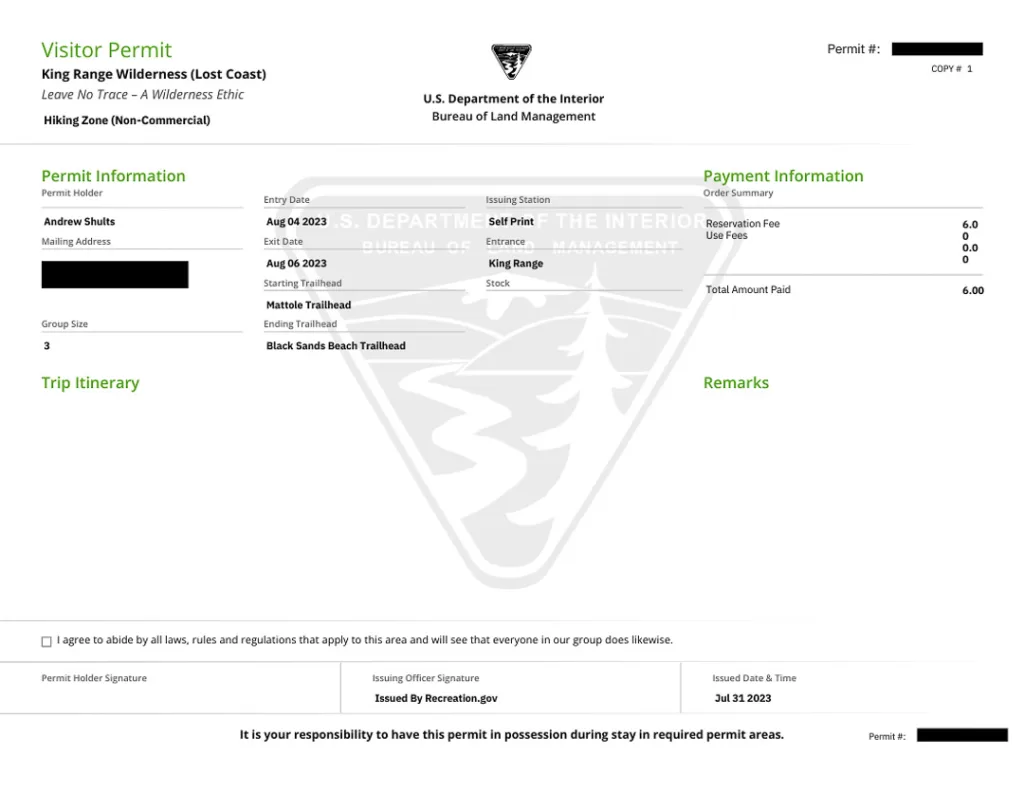
Hiking the Lost Coast Trail requires a wilderness permit, which is available via online reservation. Permits are released three months in advance on a rolling basis at 7 AM Pacific Time. For example, permits for a January 1, 2025 start date will be released on October 1, 2024. 30 to 60 permits are released per day depending on the time of year, and they’ll go very quickly. You’ll need to be logged in and ready to visit the King Range Wilderness Permit Reservation Webpage at 7 AM Pacific time three months before your desired start date for the best chance of obtaining a permit. Note that the maximum permit size is three individuals, so if you’re planning on hiking with a larger group, multiple people will need to secure permits.
For advice on securing your Lost Coast Trail wilderness permit, check out our article on Tips for Scoring a Permit or Campground Reservation on recreation.gov. We also are here to help you navigate the always-changing permit landscape! With our Cascades and Sierra Nevada Packages, we’ll walk you through the entire process to help you snag elusive campground reservations and wilderness permits, like for the Lost Coast Trail!
Hiking Direction
While you can hike the Lost Coast Trail in either direction, most people prefer to hike north to south, or from Mattole Beach to Black Sands Beach. That way, the prevailing northwestern winds are at your back.
Transportation
The Lost Coast is very remote and you’ll need a car to reach the trailhead. Shelter Cove, the trail’s southern terminus, is about 4 hours north of San Francisco and 2 hours south of Eureka.
Also, this is a point-to-point trail and takes about two hours by car along windy roads to travel from one terminus to the other. There are several shuttle services that will drive you to your desired trailhead. I personally recommend Lost Coast Adventure Tours – I’ve used them several times and have not had any issues. Alternatively, if your group has multiple cars, you can shuttle to the trailhead yourselves. If you’re hiking solo, you can hitch a ride or find other transportation options on the Lost Coast Trail Facebook Page.
Shelter Cove Lodging
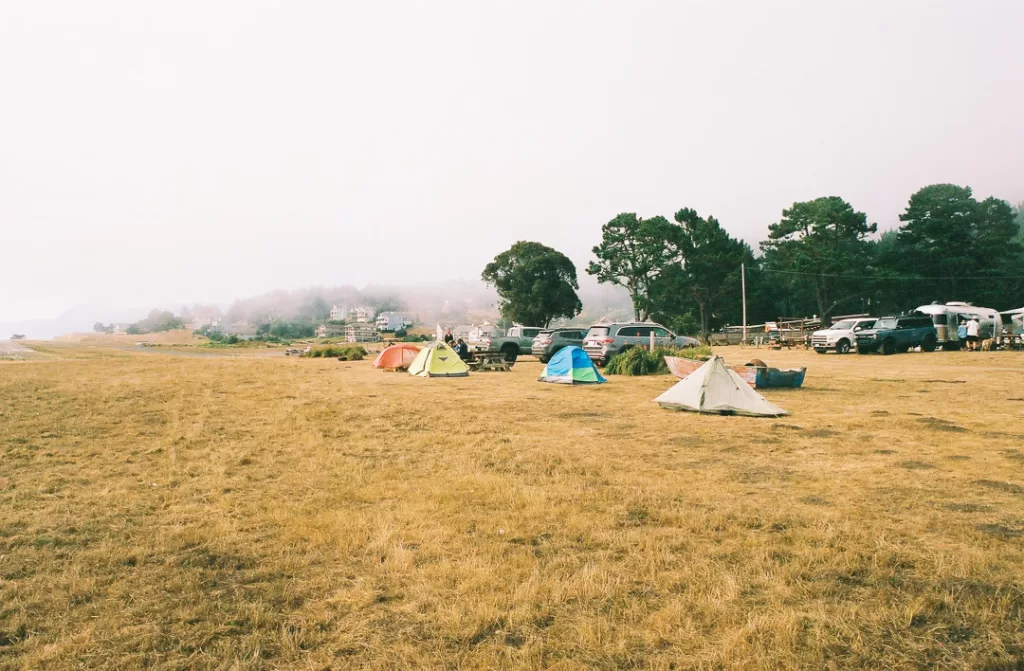
There are a plethora of lodging options in Shelter Cove. If you’re hoping to camp, the Shelter Cove RV Campground and Deli has plenty of tent sites and RV spots. For a more elevated stay, check out one of the several inns in the town, like the Inn of the Lost Coast, which is where I stayed the last time I hiked this trail. There are also plenty of Airbnbs in the area.
Weather
The weather will vary depending on when you’re hiking the Lost Coast Trail. During the summers, you can expect highs in the 60s and 70s during the day, and lows in the 50s at night. During colder months, the temperature will dip to between 40 and 60 degrees. Rain, fog, and storms are also common along this stretch of California coast, especially in the winter, so it’s imperative to stay up-to-date on the latest forecasts. For real-time weather information, head to the National Weather Service website.
While Hiking the Lost Coast Trail
Pacing
The Lost Coast Trail is easily completed over three days/two nights. While going slower is definitely possible (and many people choose to do so), a faster itinerary is difficult due to the impassible zones.
Campfires
Campfires are allowed except between approximately July through mid-October when fire danger is high. For more information on fire restrictions, click on the Arcata Field Office dropdown on the Bureau of Land Management’s Fire Restrictions webpage.
Whether campfires are allowed or not, you’ll need to carry a California Fire Permit if you plan on having some kind of fire, including personal stoves.
Bear Canisters
Hard-sided bear canisters, like the BV500 Journey Bear Canister are required when hiking the Lost Coast Trail (you can find a list of approved bear canisters in the King Range Trip Planning Guide). If you don’t want to buy one, rentals are available via Lost Coast Adventures Tours and other companies. Be sure to put all scented items in your bear canister before going to bed each night and store it at least 100 feet from camp.
Poison Oak
There are a few sections on the Lost Coast where you’ll likely encounter some poison oak. If you want, it’s not a bad idea to wear long sleeves and pants for the most protection. If not, make sure to wipe down and wash your skin if you think you’ve come into contact with poison oak.
Ticks
While unlikely, ticks are also present on the Lost Coast Trail. Applying bug stray, treating your clothes with Permethrin, and wearing long-sleeved shirts and pants are all ways to help avoid tick bites. Also, check your skin for ticks regularly. That said, the two times I’ve hiked the Lost Coast Trail I wore permethrin-treated shorts and was tick-free both times.
Handling Your Business
Because you’re hiking along the Pacific Ocean, the pooping protocol is a little different compared to other trails. When you have to go, dig a 6-8 inch cathole in the wet sand below the high tide line, aka the intertidal zone. The ocean will sweep your waste away during the next high tide. As always, pack out any toilet paper and other non-human waste.
Recommended campsites
Most hikers choose to set up camp by one of the freshwater streams. Here are the campsites that I recommend.
Example Itinerary
Everyone’s trip will look different, but here is the itinerary I used when hiking the Lost Coast Trail. Both trips took place in the summer with low tide in the morning and late afternoon.
When planning your Lost Coast Trail adventure, I highly recommend downloading the FarOut app and purchasing their Lost Coast Trail map. It has tons of useful information, including waypoints, campsites, and water sources.
Day 1 – Mattole Beach to Cooskie Creek: 6.6 Miles
Take Lost Coast Adventure Tours’ 7 AM Gray Shuttle from Shelter Cove and arrive at Mattole Beach two hours later. Start hiking soon to navigate past the first impassible zone before the tide rises too high. As you hike, keep your eye out for an interesting mix of aquatic and terrestrial wildlife.
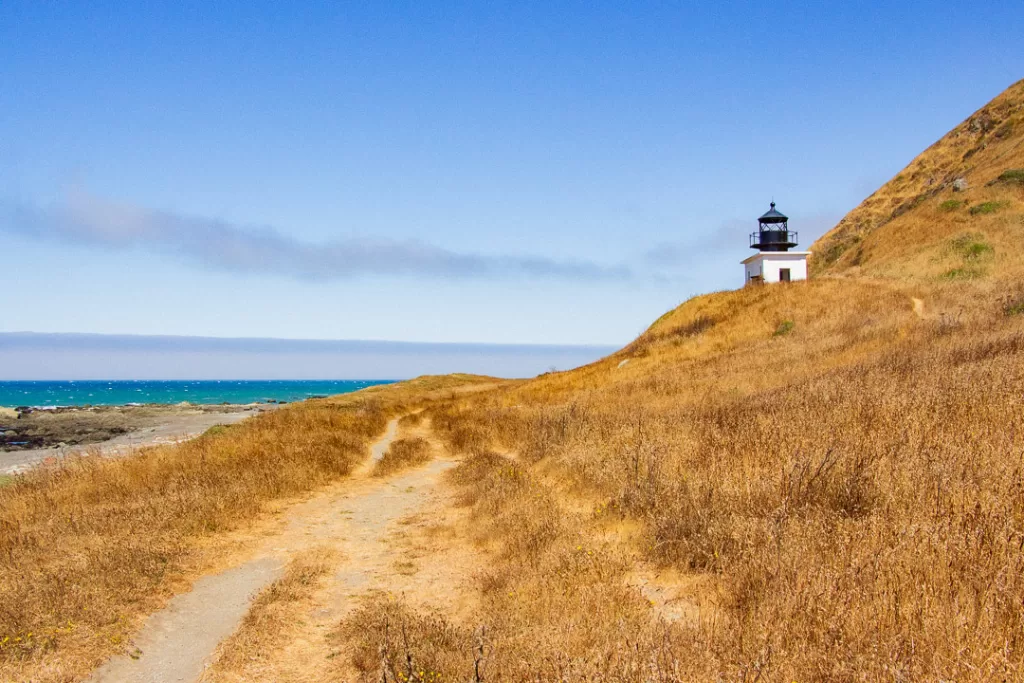
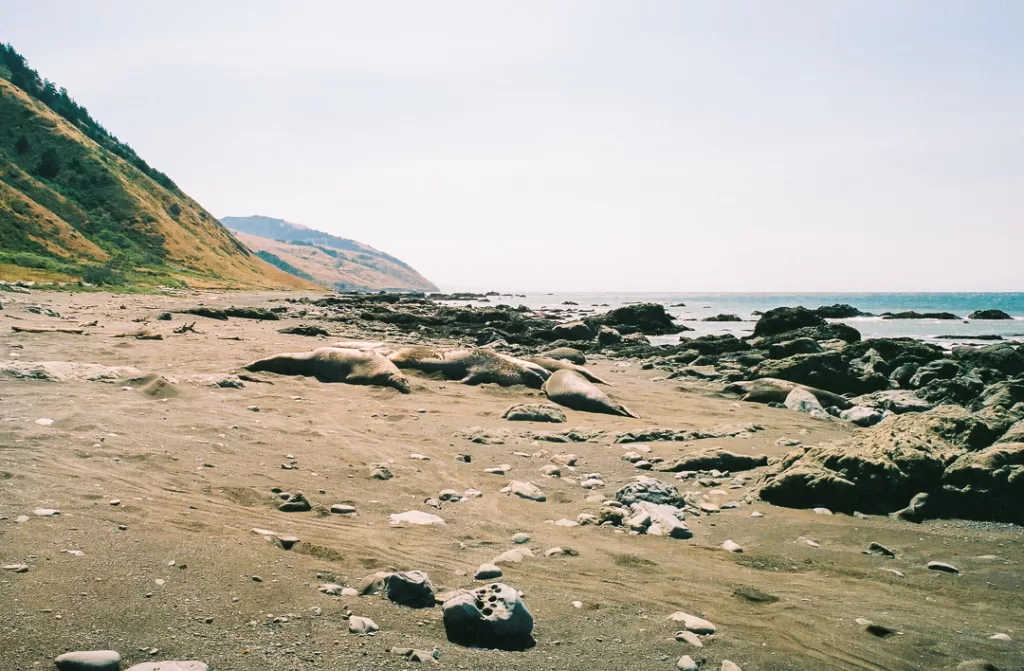
At mile 3.3, you’ll reach the Punta Gorda Lighthouse. While it’s no longer in use, it’s fascinating to see this structure up close. If you want, you can even climb inside. There’s also a colony of elephant seals nearby, mostly laying around and basking in the sun.
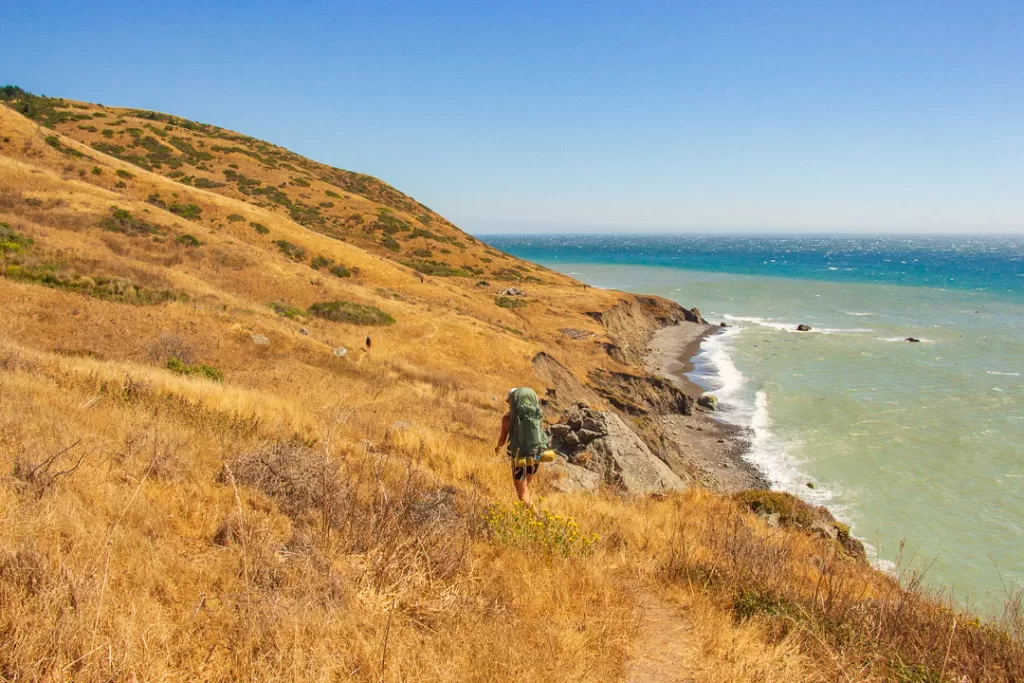
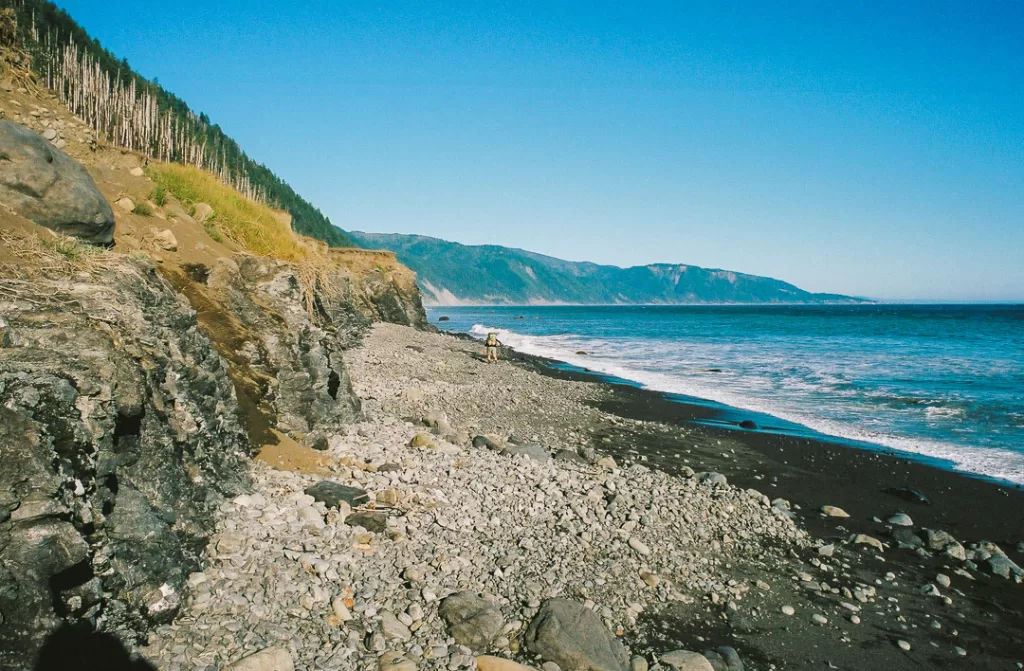
At around mile 4 you’ll reach one of my favorite vistas on the entire trail. High up on a cliff, you get expansive views of the ocean, coastline, and mountains. Then at mile 5.6 set your packs down for a siesta on the beach. Your second impassible zone is just ahead, and by now the tide is too likely too high for you to pass.
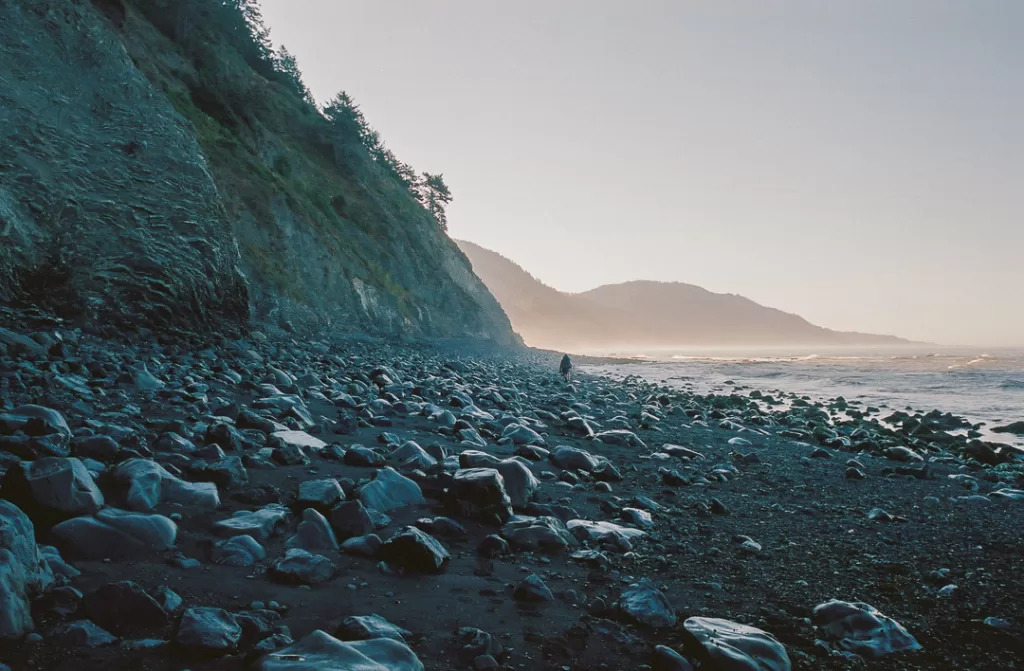
Once the tides have dropped, pack up your bag and hike one more mile to camp. Finally, at mile 6.6 you’ll reach your destination – Cooskie Creek. There are lots of campsites and a large river flowing by. Even though you’re in the middle of an impassible zone, you’re far enough inland that the tides won’t reach your tent. Set up camp and take in the serene beauty as the sun sets below the Pacific Ocean.
Day 2 – Cooskie Creek to Shipman Creek: 12.0 Miles
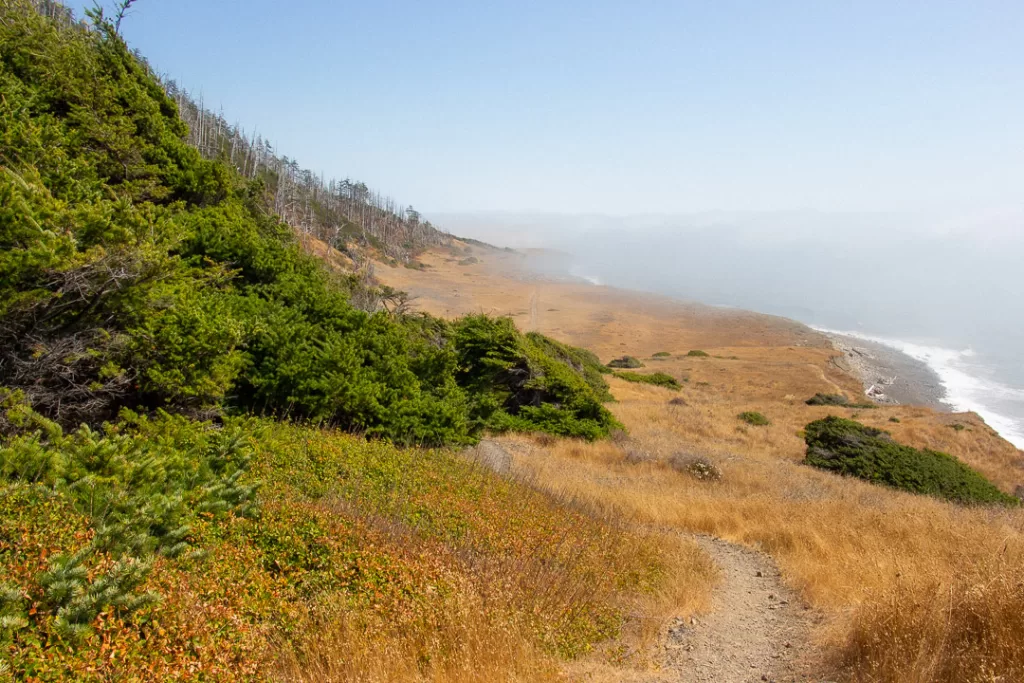
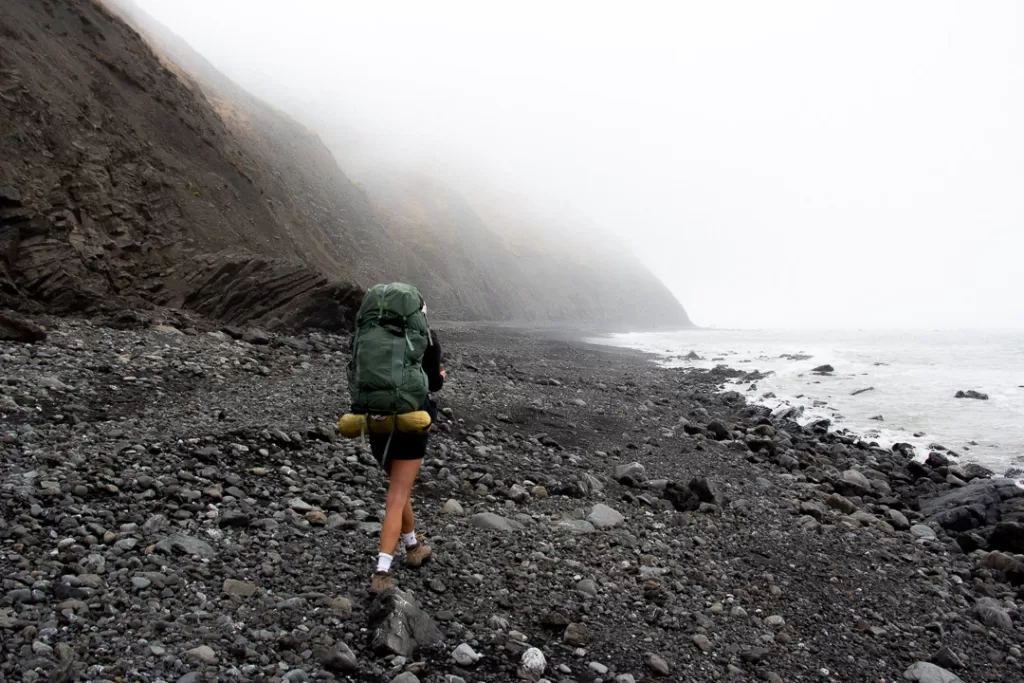
You’ll wake up early on day two to get through the second impassible zone before high tide. Start hiking and enjoy the dreamy and misty morning. Once you’ve reached Randall Creek at mile 8.7, you can take it easy, as you’re now out of the impassible zone. For the rest of the day, you’ll alternate between beach walking and hiking on the bluffs. While enjoying the views, also keep an eye out for poison oak, as there are a few sections where it’s prominent and overgrown.
At this point in your hike, you likely have seen washed-up debris on the beach, including the rusted remains of old ship parts. You never know what you’ll run into on the Lost Coast.
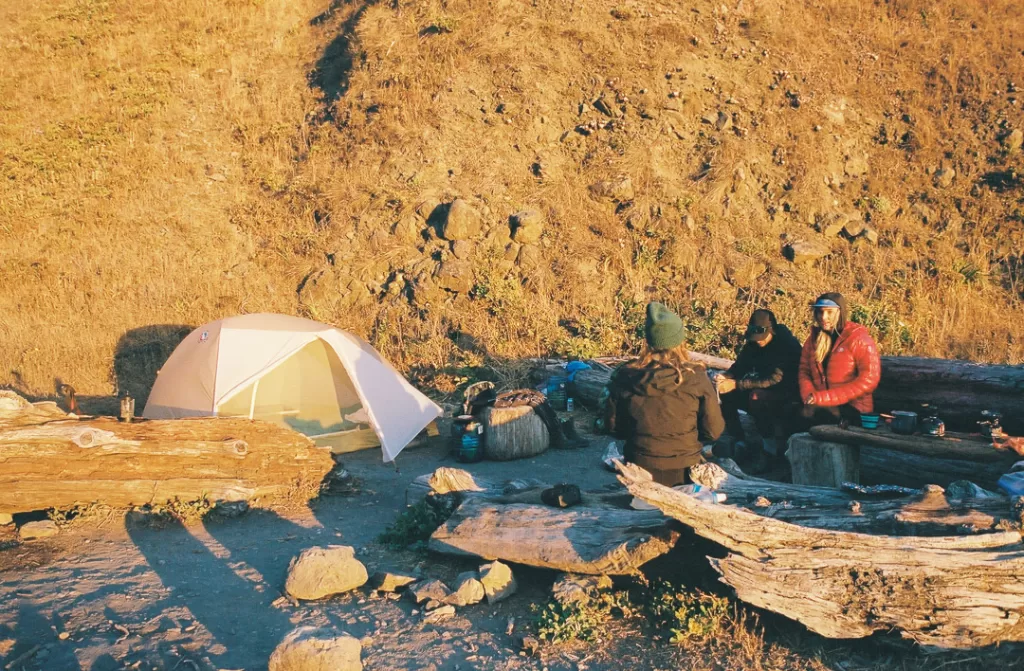
At mile 16.7 you’ll reach Big Flat Creek, which puts you just outside the next impassible zone. With a large water source, plenty of shade, and several natural logs to sit on, this spot is great for an afternoon siesta. If you don’t want to hike any further, there are plenty of solid campsites here.
Once the tide has dropped, repack your bags and get ready for the final push to camp. Be careful as you enter this impassible zone and keep your eyes on the ocean, as there are several pinch points where the water comes right up to the cliffs, making you susceptible to getting swept away by a sneaker wave.
Finally, at mile 18.6 you’ll reach Shipman Creek. There are plenty of campsites and a flowing stream in this alcove. Set up camp, have a hot meal, and enjoy your last night on trail. In the distance, you can see Shelter Cove’s glowing lights.
Day 3 – Shipman Creek to Black Sands Beach: 6.4 Miles
Start hiking on day three in time to exit the impassible zone before the tide gets too high. Keep an eye out for black bear paw prints on the wet sand – I saw them both times I hiked the trail. It’s a good thing that you stored your scented items in your bear canister. At mile 21.5 you’ll reach Glitchell Creek, marking the end of the last impassible zone. You’re now in the final stretch.
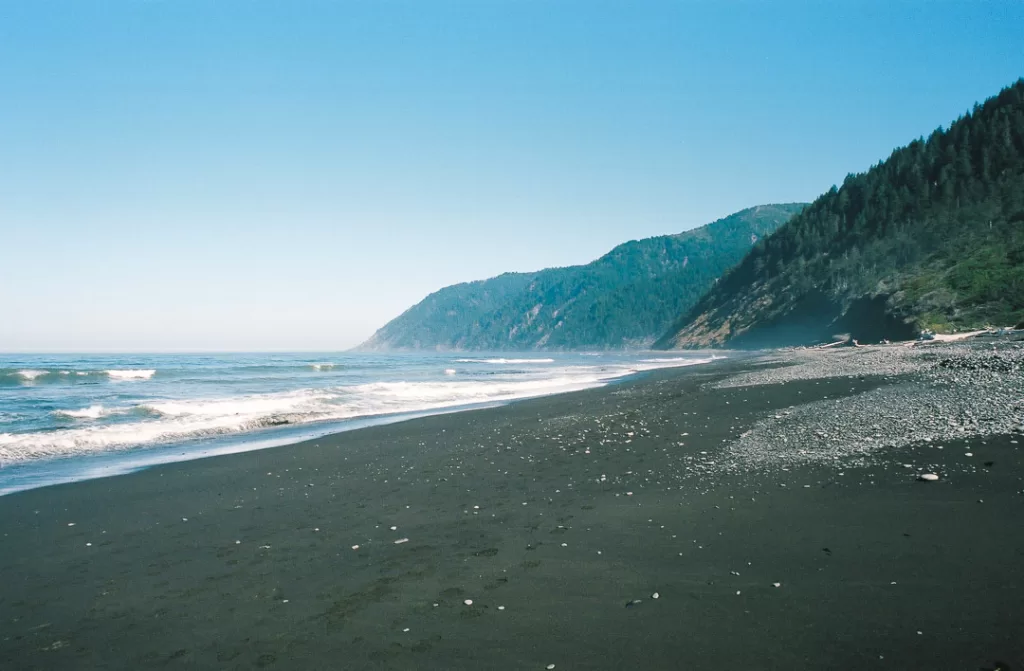
It’s easy to assume that the trail from here on out will be a breeze. However, you’ll be hiking on the sand the entire time, which quickly turns into a slog. While each step requires more effort than on a normal trail, you’ll have plenty of beautiful scenery to make it worth it.
At long last, you’ll reach Black Sands Beach at mile 25, marking the end of your hike. Head back to your car and celebrate completing the Lost Coast Trail! If it’s open, a great place to relax after your hike, as well as to grab a cold drink and fresh food is at Gyppo Ale Mill. Otherwise, the Shelter Cove RV Campground and Deli offers some solid food options, like hamburgers and tacos.
I hope that this guide helped inspire you to hike the Lost Coast Trail! If you want help planning your trip, reach out! We have a variety of packages to choose from and are excited to get you out on your dream adventure. Click on the button below to learn more about our offerings, and contact us if you’re ready to take the first step toward a life outdoors!
Check out some of our other trip reports and guides
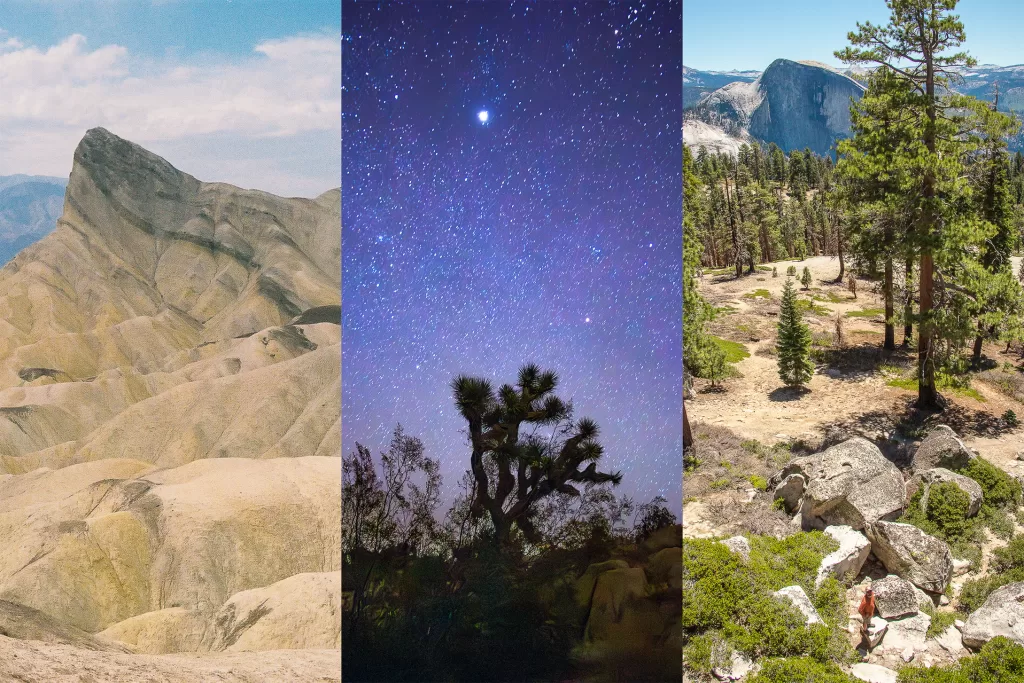
Your Definitive California National Parks Guide to Plan an Epic Trip
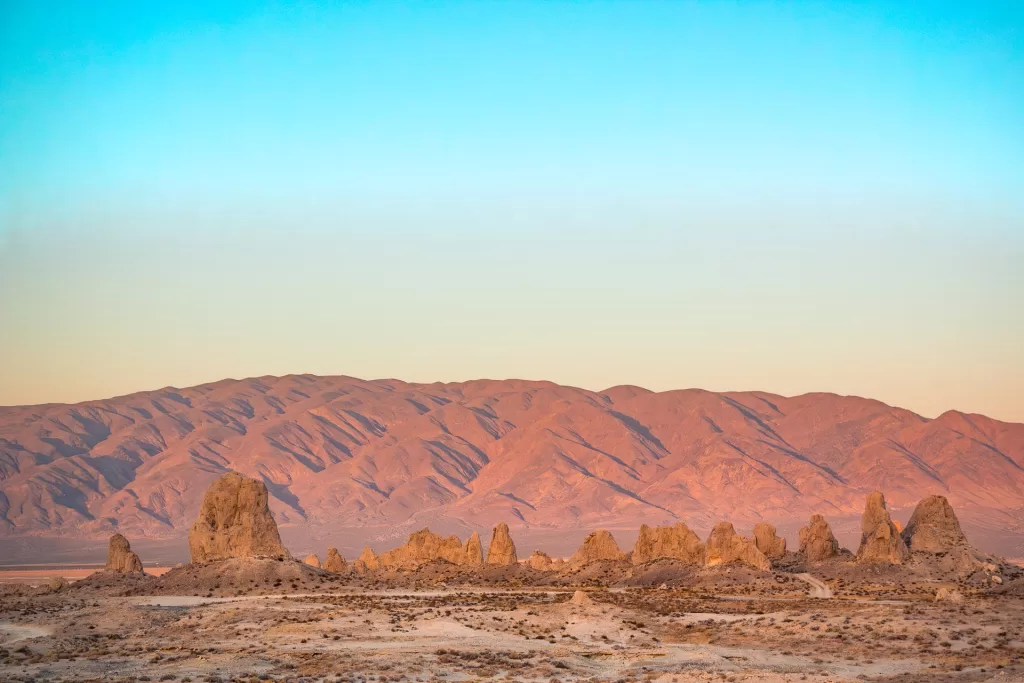
Venturing to the Trona Pinnacles: A California Hidden Gem
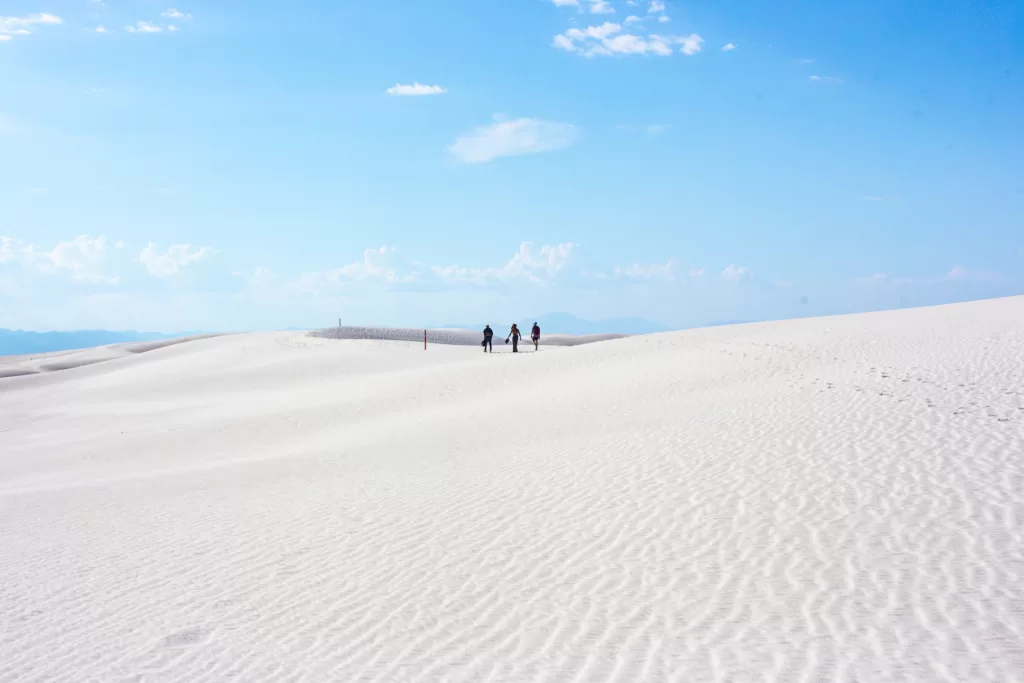
White Sands National Park Guide: Exploring and Hiking the Dunes
Exploring Acadia National Park: Its Hikes, Views, Sunrises & More

Exploring Anza-Borrego Desert State Park: Camping, Hiking and Stargazing in the Desert